Sep 15, 2026
Reading a Failed Lining: What a Nano Back-up Layer Tells You After a Short Campaign
A field key for teardown diagnosis — five failure signatures of a microporous nano back-up layer (intact board but hot shell, powdery board, shrunken joints, first-heat spalling, missing boards), what
When a ladle campaign built on high-strength nano insulation boards ends early, the teardown is the most valuable thirty minutes of refractory work in the whole cycle — and the most commonly wasted. The crew is under pressure to get the shell back in service, the old lining goes into the scrap bin in pieces, and the only record is a couple of photographs taken after the excavation was already complete.
Six months later the same failure happens on the next campaign, and nobody can say why.
A microporous back-up layer is actually one of the easier linings to read, because it fails in distinctive ways. This guide is a field key: what you see, what it means, what to verify, and what to change before the next reline.
Before teardown: the evidence that disappears first
Three things are gone within hours of the ladle emptying unless someone records them:
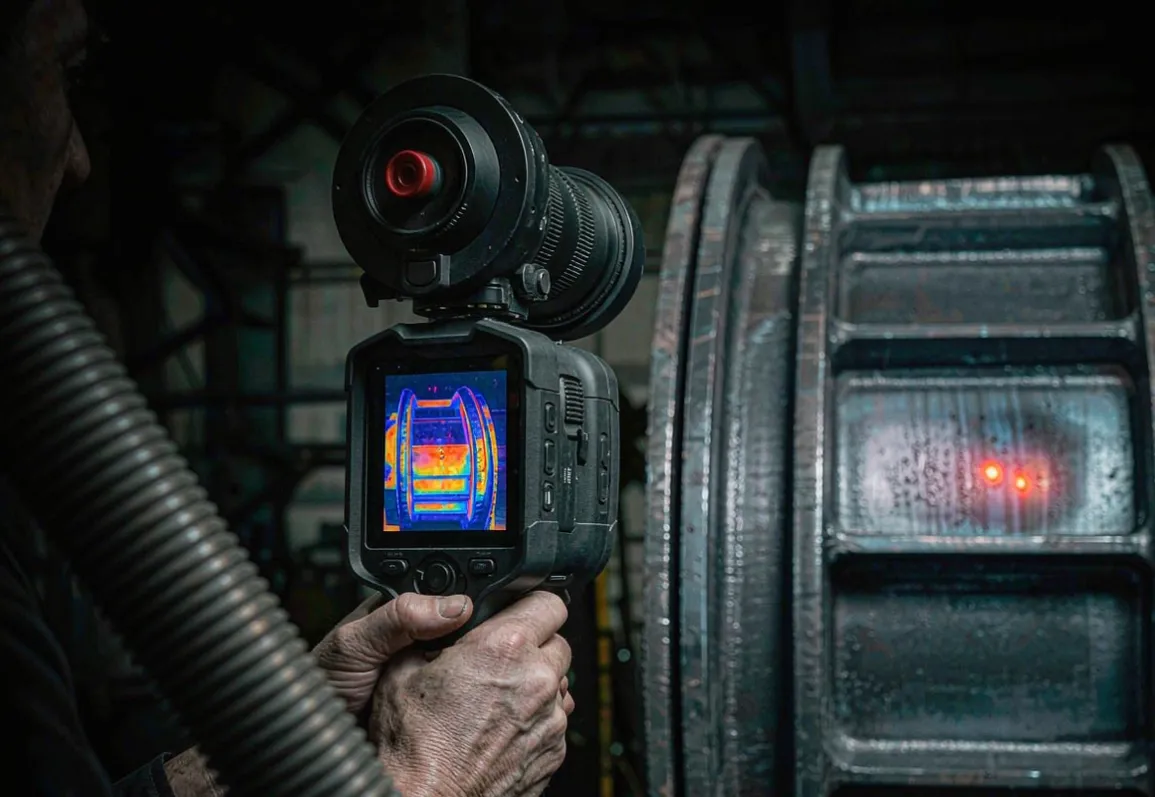
Shell temperature map. A thermal camera pass on the hot shell, done while the ladle is still on the tilting stand, shows where the heat was actually leaking. A cold shell with a short campaign points one way; a hot spot at a specific height points another.
The campaign log. Heats run, steel grades, holding times, any events — a slug of cold metal, a long delay, a laser descent that touched the wall.
Photographs in sequence. Before excavation, after the working lining is out, and close-ups of the back-up layer in place. Wide shots first, details after — the opposite order is what we usually receive.
None of this requires expertise. It requires that someone be assigned to do it.
Failure signature 1: the board looks perfect, but the shell ran hot
What you see: back-up boards intact, joints tight, no visible damage — and yet shell temperatures were above target for the whole campaign.
What it means: the insulation is doing its job but there is not enough of it, or heat is bypassing it. The two candidates are thickness and thermal bridging.
Verify: measure the remaining board thickness at several heights. Compression under anchor preload and the weight of the courses above is normal, but a board that started at 50 mm and now measures 40 mm has lost a fifth of its thermal resistance. Check whether the hot zone on the shell map aligns with an anchor row — bridges at anchors are the usual local offenders, and the thickness sizing method explains why the real shell temperature always sits above the calculation.
Fix: thickness goes up only if the radial space allows; usually the better lever is anchor hardware — ceramic isolation washers and correct preload, not "tighter".
Failure signature 2: boards powdery, soft, or collapsed
What you see: the board crumbles at a touch, has lost its pressed skin, or has slumped where it should stand rigid.
What it means: the board was wet, or it ran above its temperature rating. Both degrade the microstructure; they look similar in the scrap bin and the distinction matters because the fixes are different.
Verify: history, not the board. Was the humidity indicator card high at delivery? Did the crate sit outside? If moisture is plausible, the failure will be worst at the bottom of the lining where water pooled. If temperature is the suspect, the damage will be worst nearest the hot face, and the working lining will usually show matching damage.
Fix: moisture problems are fixed at the dock and in the store — the incoming inspection routine exists precisely for this. Over-temperature problems are fixed by moving up a grade: where mean service temperature is near the boundary, SLM-1200 rather than a thicker layer of the lower grade.
Failure signature 3: shrunken boards, open joints
What you see: boards that have pulled back from their neighbours, joints that were 2 mm at installation now 8 to 15 mm wide, bright gaps at board corners.
What it means: permanent linear shrinkage from over-temperature. This is the signature of a grade running above its rating — the board has sintered and pulled back.
Verify: check whether the shrinkage is uniform around the circumference or concentrated at one region. Uniform shrinkage says the service temperature was simply above the grade. Concentrated shrinkage at the slag line or bottom cone says the local temperature there exceeds the average, and the region needs either a higher-rated grade or a local design change.
Fix: grade selection, not thickness. Adding 25 mm of a board that is already over its rating buys you the same failure six months later. The SLM-1000 vs SLM-1200 comparison guide sets out the boundary conditions.
Failure signature 4: spalling in the first heats
What you see: working lining fragments flaking off within the first 20 to 40 heats, board edges chipped behind them, damage worst at the slag line and upper walls.
What it means: almost always the preheat, not the material. Fast ramping through the free-water stage builds steam pressure behind the working face. The preheat and dry-out curve covers the mechanism; the teardown signature is worth knowing — flaking that is clean and shallow, like laminate separating, rather than erosion.
Verify: pull the preheat record. If there is no record, that is the answer. Compare the ramp rate achieved against the specified curve.
Fix: a named owner for the preheat and a recorder trace filed with the reline report.
Failure signature 5: board gone entirely in patches
What you see: whole boards missing from the wall, anchors exposed and bent, debris in the bottom.
What it means: mechanical installation damage that progressed — boards chipped or cracked during fitting, then worked loose under vibration. Missing anchors or wrong hardware accelerate it.
Verify: count the exposed anchors per square metre and check their condition. Bent or missing anchors confirm. Also check whether the missing boards correlate with handling-heavy regions: around the impact pad, at trunnion level where crews work, near openings.
Fix: handling discipline and the anchor pattern from the installation guide — six anchors per board, stainless hardware, ceramic washers, tightened to contact rather than crush.
The one misdiagnosis to avoid
The most expensive sentence in refractory maintenance is "the board quality must be bad". In our experience the material is the cause in a minority of failures; installation, preheat, storage and grade selection account for the rest. Switching supplier without reading the teardown evidence just relocates the same failure.
When the evidence is ambiguous, send photographs and the retained sample board to the supplier — a supplier who ships regularly can compare your sample against retained references from the same batch, and How SLM nano insulation boards are manufactured explains which properties can realistically drift and which cannot.
The thirty-minute teardown protocol
Print this and tape it inside the reline record:
Thermal map of the shell before the ladle leaves the stand.
Campaign log: heats, grades, events.
Photo sequence: whole lining, working lining out, back-up in place, close-ups.
Measure board thickness at three heights, four positions.
Photograph every damaged board before removal, with a scale reference.
Keep two boards: the worst and the most typical.
One page of notes while it is fresh — not from memory the next day.
Thirty minutes at teardown buys the next campaign months. The anchored ladle back-up assembly page shows the reference arrangements we supply, so you can compare what came out against what went in.
— The Suleiman Refractory Engineering Team