Sep 14, 2026
Ladle Preheat and Dry-Out: A Baking Curve for Nano Insulation Linings
Why a correctly installed nano back-up lining still fails in the first six hours when the preheat is rushed — what moisture actually has to leave the board, a three-stage baking curve with ramp rates
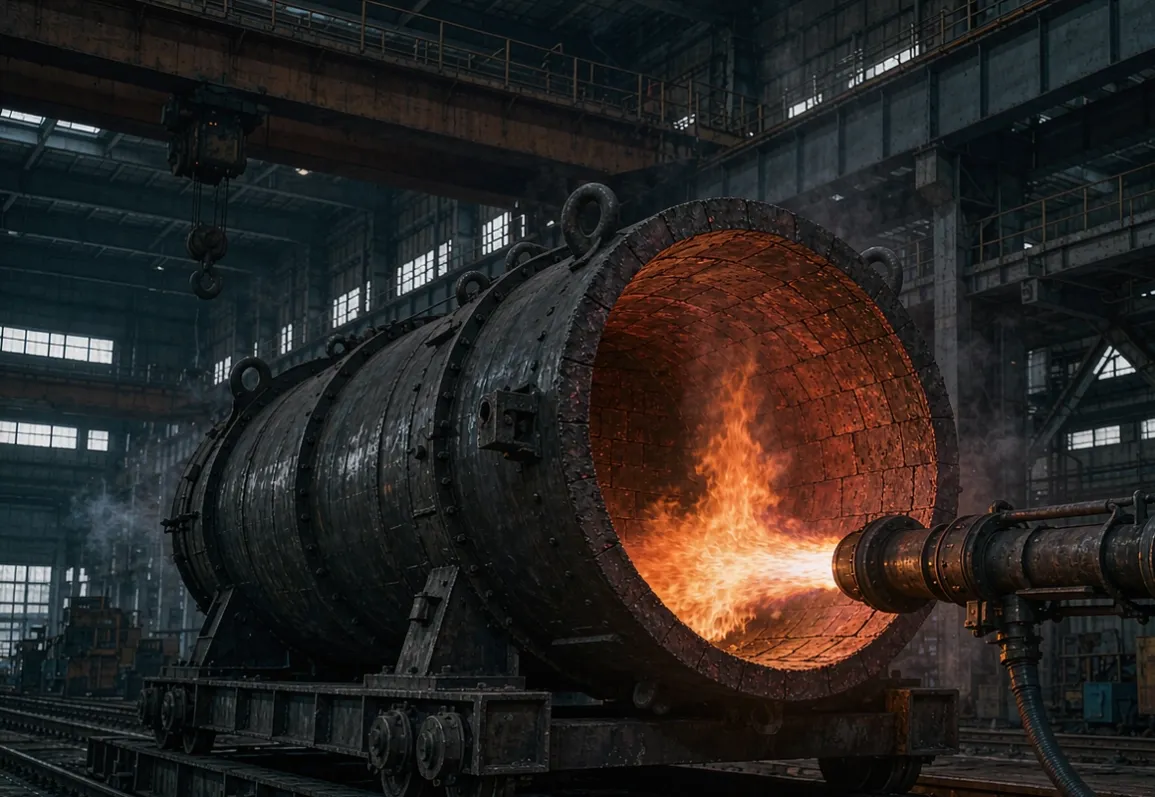
A nano back-up lining built on high-strength nano insulation boards can be specified correctly, delivered dry, and installed by a crew that did everything right — and still fail in the first six hours, because nobody owned the preheat. This is the single most common cause of early lining loss we are called out to investigate, and it is entirely preventable.
The reason is simple. Microporous board holds moisture, and moisture that turns to steam inside a closed lining has nowhere to go. Heat it fast and the steam pressure does the damage before the board ever reaches service temperature.
What is actually inside the board that has to come out
Two different things, released at very different temperatures:
Adsorbed water. Picked up from the air during storage, transit and installation. Boards are hygroscopic; a container crossing tropical waters, or a crate that sat in a wet warehouse, can add measurable weight. This is what the humidity indicator card in the crate is telling you about.
Processing residues. Water and volatiles left from forming and from the fibre content. These are bound more tightly and need considerably more temperature to drive off.
The practical consequence is a curve with two distinct slow zones, not one uniform ramp.
The three stages, and why each one exists
Stage 1 — free water removal: ambient to 200 C
This is where linings are destroyed. Below about 150 C the adsorbed water turns to steam, and if the rate is too fast the vapour front cannot escape through the joints and the shell vents.
Ramp at 15 to 25 C per hour from ambient.
Hold at 110 to 120 C for 4 to 8 hours depending on board thickness and how the material was stored.
For a 50 mm back-up layer behind a 150 mm working lining, do not shorten this hold. The water has to travel through the board to reach a joint.
Board thickness matters more than ladle size here. A 25 mm layer dries in roughly half the time of a 50 mm layer.
Stage 2 — combined water and volatiles: 200 to 600 C
Once free water is gone, the ramp can be quicker, but there is still chemistry happening.
Ramp at 30 to 50 C per hour.
Hold at 350 C for 2 to 4 hours to let the bound volatiles come off.
Watch the flame and the stack. A smoky or acrid exhaust at this stage means volatiles are still leaving; hold longer rather than pushing on.
Stage 3 — service temperature: 600 C to target
Now you are heating the working lining, and the rate is set by that material, not by the back-up board.
Ramp at 50 to 100 C per hour, or as the working lining supplier specifies.
Hold at the target — typically 1000 to 1100 C for a ladle — long enough for the working lining to reach equilibrium right through its thickness.
The board itself is long past its own transitions by this point. Where mean service temperature runs above 1000 C, SLM-1200 is the grade that should already be in the wall; the SLM-1000 vs SLM-1200 comparison guide sets the boundary.
Where the steam is supposed to go
This is the part most preheat procedures leave out. Steam needs a path out of the lining, and in a well-built nano back-up there are three:
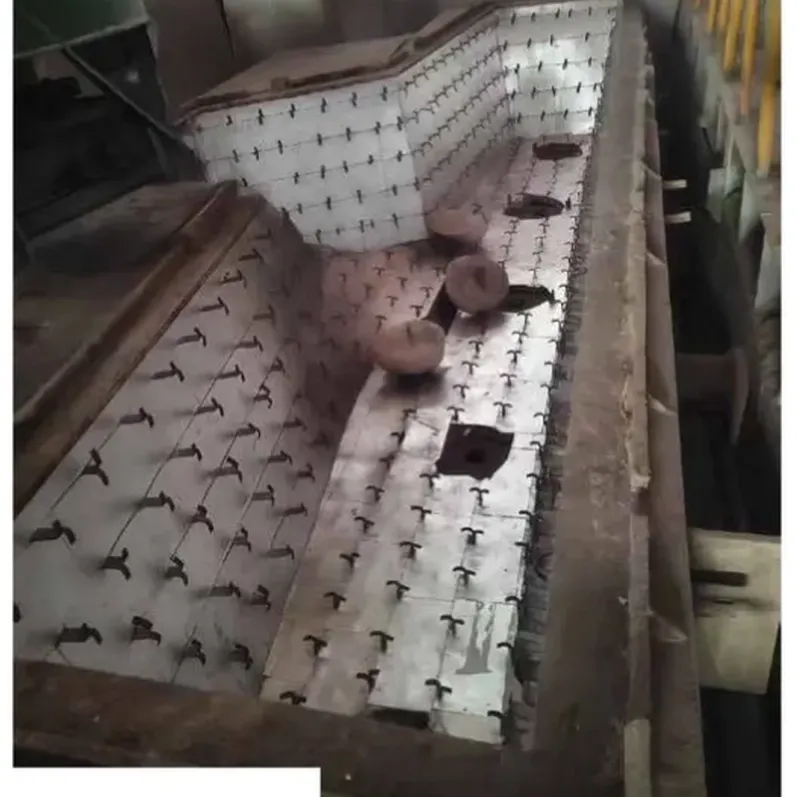
The deliberate 1 to 2 mm butt joints between boards. This is one reason the installation guide insists on a gap rather than a tightly butted joint — the joint is not sloppiness, it is a vent.
The anchor clearances. Each anchor hole is a small vent. Do not seal them.
Shell vent holes. On some designs these exist; on many they have been welded shut over years of shell repair. Check before you light the burner.
If the lining is sealed — glued boards, sealed joints, blocked vents — no preheat curve will save it.
Reading the failures afterwards
When we inspect a lining that failed early, the defect pattern usually identifies the cause:
Spalling in the first few heats, worst at the slag line. Almost always too fast a ramp through Stage 1, or a shortened hold at 110 C.
Long vertical cracks through the working lining. Thermal gradient too steep — the working face reached temperature while the back was still cold.
Bulging or distortion of the shell. Steam had nowhere to go. Look for sealed joints and blocked vents.
Localised hot spots on the shell. Usually anchor thermal bridging rather than a preheat issue; the thickness sizing method covers why bridges dominate the real shell temperature.
Powdery or soft board on teardown. Moisture damage that predates the preheat — the incoming inspection routine catches this at the dock, before it ever gets installed.
Burner or electric: what changes
Both work; they fail in different ways.
Gas burners are the norm and are fine, but they heat the surface they can see. A burner pointing straight down the ladle mouth heats the bottom far faster than the upper walls, so the upper wall lags — and the upper wall is where the temperature gradient damage shows up. Use a deflector or a lance that distributes heat, and measure at more than one height.
Electric preheaters give far better uniformity and much tighter control of the low-temperature ramp, which is exactly where the risk is. Where a plant has one, Stage 1 and Stage 2 become genuinely easy.
Whichever you use, the instrument that matters is a thermocouple reading the back of the working lining, not the flame and not the ladle mouth. The flame temperature tells you nothing about what the board is doing.
A practical schedule for a 50 mm back-up layer
For a 130 ton ladle, 150 mm working lining, 50 mm nano back-up, material stored dry:
| Stage | Range | Rate | Hold | |---|---|---|---| | 1 | ambient to 200 C | 20 C per hour | 6 h at 115 C | | 2 | 200 to 600 C | 40 C per hour | 3 h at 350 C | | 3 | 600 to 1100 C | 80 C per hour | to equilibrium |
Total roughly 20 to 26 hours depending on the starting condition of the lining. That is longer than many shops allow, and it is the reason preheat gets compressed. The cost of compressing it is a working lining that spalls at heat 40 instead of heat 120.
Special cases worth planning for
New lining after a full reline. Full curve, no shortcuts. This is the highest-risk preheat the lining will ever see.
After a patch or partial repair. Moisture has been introduced by the repair mortar, and the new area is small relative to the surrounding hot refractory, so it heats unevenly. Extend the Stage 1 hold rather than the ramp rate.
Restart after a long idle. If the ladle stood for more than a month, or in a humid season, treat it as a new lining. Boards that have sat will have picked up water.
Material that arrived damp. If the humidity indicator card was already high at delivery — and our container loading guide explains why that happens on long sea legs — add several hours to the Stage 1 hold and consider a longer ambient soak before the burner is lit.
The one rule worth enforcing
If you only change one thing, make it this: put the preheat curve in the reline procedure and give one person responsibility for the recorder trace. Most failed preheats are not the result of a wrong curve — they are the result of a correct curve that nobody followed, because the ladle was needed early and nobody had authority to say no.
A printed curve taped to the burner control, a working thermocouple at the back of the working lining, and one named owner. That is the whole system.
Getting the curve right for your ladle
Send us your board thickness, working lining type and thickness, burner type and available preheat window, and we will return a stage-by-stage curve with the ramp rates and hold times for your build. The anchored ladle back-up assembly page shows the standard venting and anchoring arrangements we supply, and How SLM nano insulation boards are manufactured explains where the moisture and volatiles in a new board actually come from.
— The Suleiman Refractory Engineering Team