Sep 23, 2026
The Joint Problem: Designing, Cutting, and Closing Gaps in Nano Insulation Back-up Linings
Why back-up linings fail at the seams instead of in the boards: the three mechanisms that open joints in service, how to stagger courses and design for real tolerances before cutting, how to close the
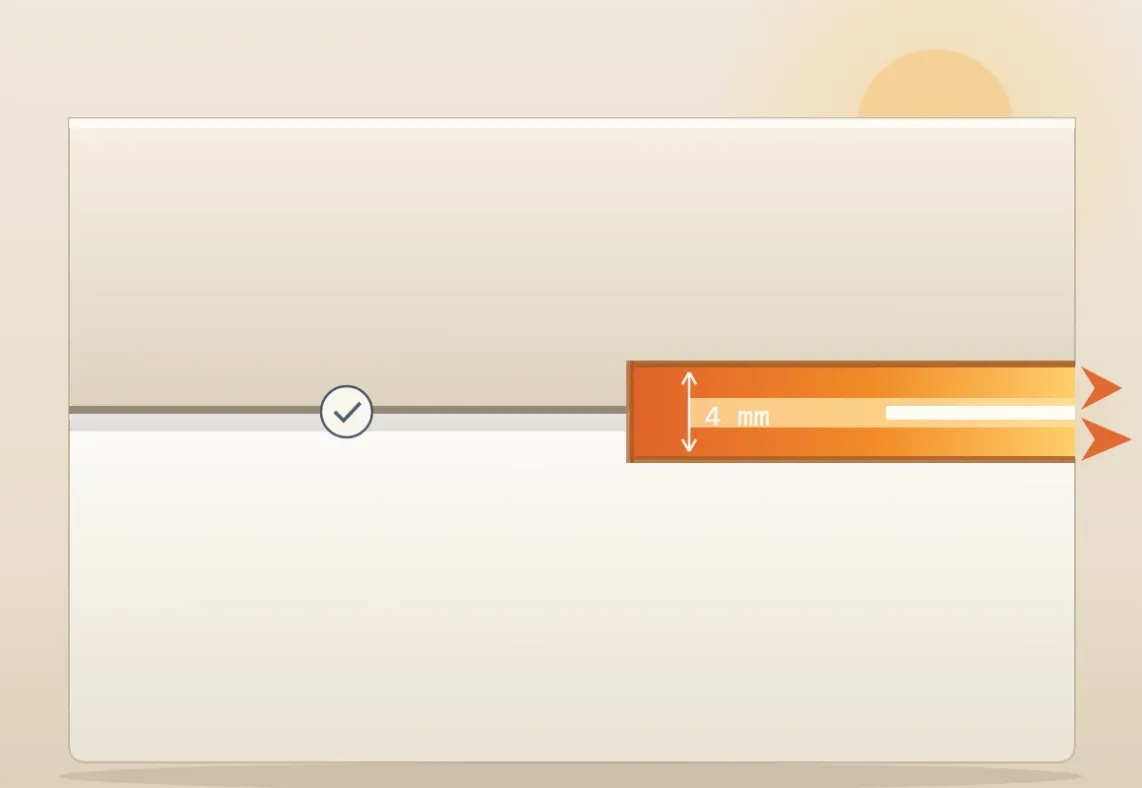
A back-up insulation layer almost never fails in the middle of a board. It fails at the seams. When a short campaign ends and the shell comes down, the teardown usually finds boards in decent condition — and joints that have opened, misaligned, or never closed properly, funnelling heat past the entire insulation system through a gap a few millimetres wide. That signature is documented in detail in the failure analysis guide; this article is about preventing it, starting at the design stage and ending with the checks that catch a bad joint before the first heat bakes it in.
Why a few millimetres of gap matter so much
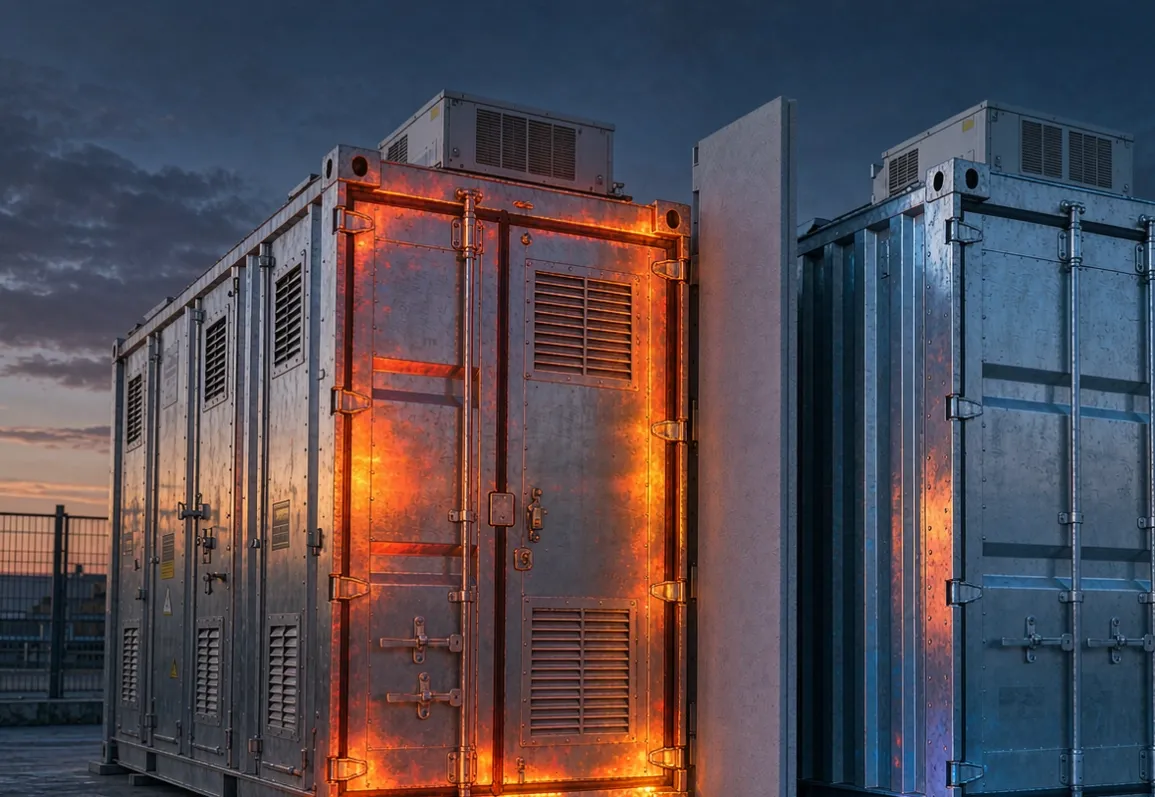
The board exists because its nanopore structure conducts heat far worse than any dense refractory. That is exactly why a gap defeats it so efficiently: heat that meets a low-resistance path bypasses the high-resistance material around it, and the area of board flanking an open joint runs measurably hotter while the gap carries the load it was supposed to stop.
Three mechanisms open joints in service:
Permanent linear change. The board shrinks slightly at temperature. Sized and operated within its limits, that shrinkage is small and absorbed by the design; pushed past them, joints open visibly. Where that boundary sits is a datasheet conversation — the permanent linear change line on a proper data sheet is the number that predicts it.
Installation fit. Two boards cut to different lengths, butted against a warped shell face, or trimmed with a splayed edge never truly close, and no amount of pressing fixes an edge that was never square.
Movement. Shell flex, anchor relaxation, and thermal cycling all work the joints over a campaign. A tight joint that survives dry-out can still open by month three if it was carrying more than its share of the fit-up error.
Design the joint layout before the first board is cut
Joint quality is decided on paper, not at the ladle.
Stagger the layers. With a two-layer build-up, the vertical joints of the second layer must never sit over the vertical joints of the first — brick-bond them by at least a board width, so no through-path from hot face to shell exists at any station. This single rule does more for the assembly than any other jointing decision, and it belongs in the drawing before cutting starts.
Design for the tolerance you actually have. Boards arrive within a stated thickness tolerance, and your cuts carry their own error, so the layout must absorb a few millimetres of variation per course rather than assume perfection. The dimensional tolerance row matters here precisely because the joints have to swallow it — a layout that only works if every board is exactly nominal is a layout that fails at the first course. How that stack-up interacts with the thermal design was covered in the thickness sizing guide.
Decide what happens at interruptions. Nozzles, trunnion blocks, thermocouple bosses and shell stiffeners all interrupt the board plane. Design the trimming around each one — which piece gets notched, which gets a shaped offcut, where the closure piece comes from — instead of improvising them with a knife on installation day.
Cut for fit, not for speed
The mechanics of a clean cut are in the storage and cutting field guide: support the cut line, cut from measured positions, keep edges square. Two joint-specific habits are worth adding.
First, trial-fit dry and mark the actual gap, then recut once. A board recut once is routine; a board forced into a gap it does not fit is the origin of most splayed edges and crushed corners. Second, keep the offcut rack sorted by thickness — joint closure pieces, notches around bosses, and infill at odd geometries are exactly what offcuts exist for, and reaching for them keeps a fresh board out of a role a scrap could fill.
Closing the joints that cannot be tight
Some gaps are structural and will not close by pressing. A curved shell forces the back edges of a board to stand slightly proud; a dished bottom concentrates misalignment at the centre; a notched board around a boss always leaves a shaped void. The answers, in order of preference:
Stagger it away. If the gap sits in the first layer, make sure the second layer bridges it with a full board. A gap that is covered is no longer a through-path.
Pack it with the same material. A trimmed offcut pressed into the void restores the insulation plane; where the gap is narrow, a strip of the same board feathered in beats leaving it open. What does not work is optimism — an unpainted void never closes itself.
Capture it under the next course. Where geometry forces an open edge, orient it so the next layer or the anchor line clamps it closed rather than leaving it free to work open in service.
The full sequence — where boards sit relative to anchors, how courses are built up, and how the shell surface should be prepared before any of this — is walked through in the step-by-step ladle installation guide. The joint rules above are the part of that process most worth rehearsing before the crew is on the clock.
Checking joints: during and after
Joint quality is verifiable at three moments, and each catches what the previous one missed.
At fit-up. Before the next course goes on, look at every butt joint on the course just laid. A torch behind the joint on the curved sections shows daylight gaps instantly; a feeler gauge turns "looks tight" into a number worth recording. Damage found at this point is still cheap — a chipped corner gets recut or rotated away from the joint, per the sorting habit from the field guide.
At dry-out and early campaign. The first heat is when a badly closed joint announces itself, because that is when the lining is cycling for the first time; what the preheat and dry-out curve is designed to protect against applies doubly where a joint is carrying fit-up error.
During the campaign. The IR survey from the performance verification guide is the running joint audit: a vertical hot streak on the shell is a joint opening on the inside, and its position maps back to a specific course. Caught early, it is a watch item; caught late, it is the teardown photograph that opens this article.
The grade question
Joint discipline is easier with board that keeps its edges — a denser, higher-strength grade tolerates fit-up handling without crumbling at the corners, which is one reason the handling behaviour of SLM-1000 matters even on purely thermal projects. But no grade survives a layout that was never designed: stagger, tolerance, and closure are decisions, and the material can only execute them.
To see a complete two-layer build-up with staggered joints in place, the anchored ladle back-up assembly page shows the assembly as installed.
If you are planning a lining and want the joint layout reviewed against the shell geometry — or want the dimensional tolerance in writing before an order — send the drawing over: sales@slmthermal.com